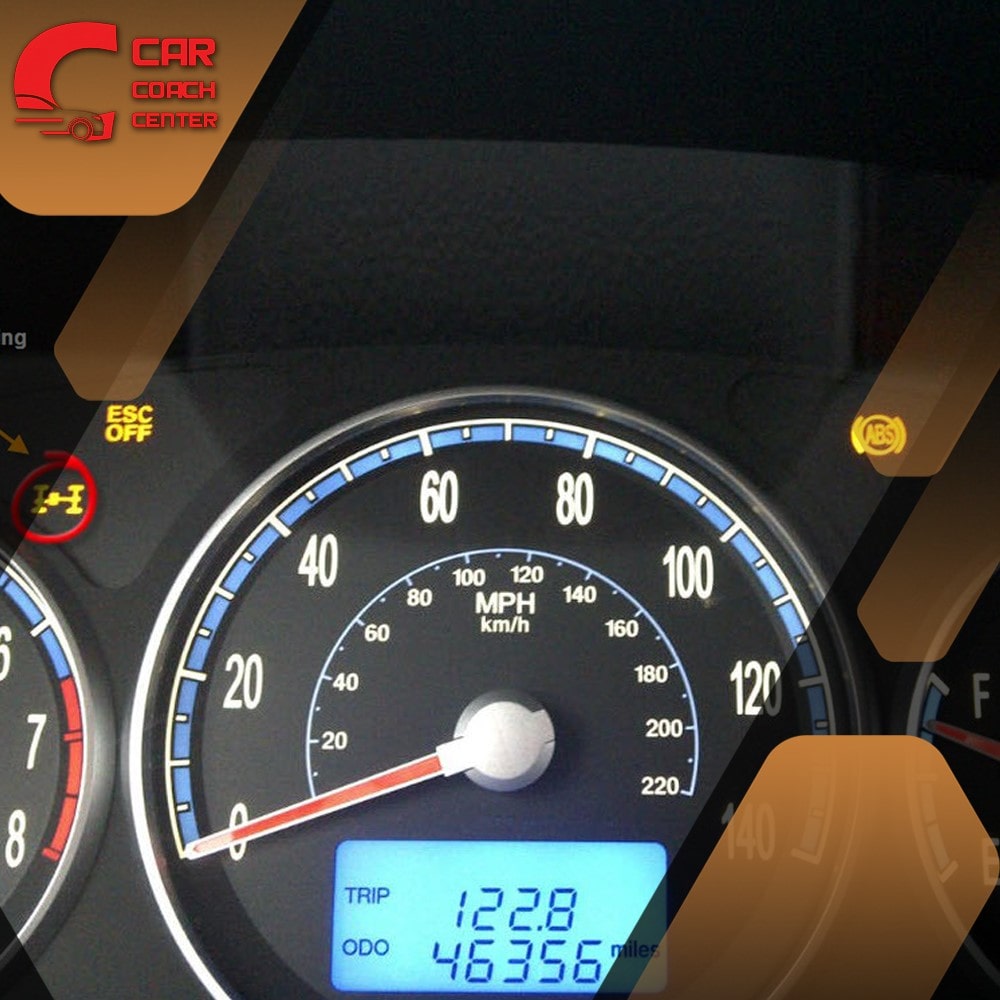
Mini Cooper Brake Warning Light Symbols
Driving a Mini Cooper is a thrilling experience, but like any vehicle, it can encounter issues that require attention. One crucial aspect of car maintenance is understanding brake warning light symbols.
These symbols serve as indicators that something may be wrong with the braking system, alerting the driver to take immediate action. In this comprehensive guide, we will delve into the various brake warning light symbols specific to Mini Coopers, helping you understand their meanings and providing practical solutions to address common problems.
Mini Cooper Brake System Overview
Introduction to the Mini Cooper Brake System
The braking system is a fundamental component ensuring the safety and performance of any vehicle, and Mini Coopers are no exception. Understanding the basics of the Mini Cooper brake system will provide a solid foundation for comprehending brake warning light symbols and their implications.
Components of the Brake System
The Mini Cooper brake system consists of several crucial components working together to ensure effective braking power. These components include:
– Brake pads: These friction materials make contact with the brake rotors to slow down or stop the vehicle.
– Brake calipers: Responsible for housing the brake pads and exerting pressure on them to create friction.
– Brake rotors: Disc-shaped components that rotate with the wheels and experience friction from the brake pads to slow down or stop the vehicle.
– Brake lines: Carry brake fluid from the master cylinder to the brake calipers, enabling hydraulic pressure to be applied.
– Master cylinder: Converts the pressure applied to the brake pedal into hydraulic pressure, which is transmitted to the brake calipers.
– Brake fluid: A vital hydraulic fluid that transfers pressure from the master cylinder to the brake calipers, enabling the braking action.
– Anti-lock Braking System (ABS): A safety feature that prevents the wheels from locking up during emergency braking situations, enhancing control and stability.
Importance of Regular Brake Maintenance
Maintaining the Mini Cooper brake system is crucial for both safety and optimal performance. Regular brake maintenance includes:
– Inspecting brake pads and replacing them when worn.
– Checking brake fluid levels and ensuring it is in good condition.
– Inspecting brake lines for leaks or damage.
– Monitoring the condition of the brake rotors.
– Flushing and replacing brake fluid as recommended by the manufacturer.
Common Mini Cooper Brake Warning Light Symbols
- Brake Pads Warning Light
- Meaning and Significance
When the brake pad warning light illuminates on your Mini Cooper’s dashboard, it indicates that the brake pads have worn down to a level where they require immediate attention. Ignoring this warning can lead to decreased braking performance and potential damage to other brake components.
- Causes and Possible Solutions
Common causes for the brake pad warning light include:
– Worn brake pads: Over time, brake pads wear down due to friction. Regular inspection and replacement are necessary.
– Faulty brake pad wear sensor: The wear sensor is designed to alert you when the brake pads reach a critical level. If the sensor is faulty, it may trigger the warning light prematurely.
To address the brake pad warning light:
– Inspect the brake pads visually and measure their thickness. If they are worn beyond the manufacturer’s recommended limit, replace them promptly.
– Check the brake pad wear sensor for any damage or misalignment. If necessary, replace the sensor.
- DIY Inspection and Maintenance Tips
Performing basic brake pad maintenance can help ensure optimal performance and prevent premature wear. Consider the following tips:
– Regularly inspect the brake pads for wear using a flashlight. Look for thinning pads or uneven wear patterns.
– Clean the brake calipers and lubricate the contact points between the pads and calipers to ensure smooth operation.
– Follow proper bedding-in procedures when installing new brake pads to maximize their effectiveness.
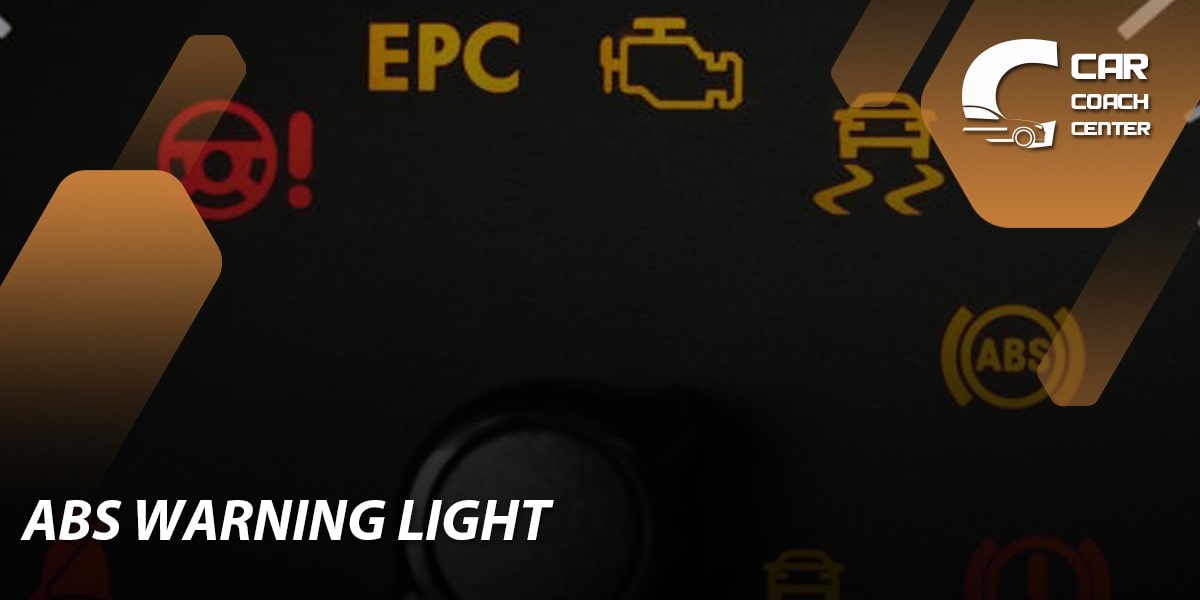
- ABS Warning Light
- Understanding the Anti-lock Braking System
The ABS warning light alerts you to potential issues with the Anti-lock Braking System. ABS is a safety feature that prevents the wheels from locking up during sudden braking, enabling the driver to maintain steering control.
- Troubleshooting ABS Warning Light
When the ABS warning light illuminates, it may indicate the following problems:
– ABS sensor malfunction: The sensors responsible for monitoring wheel speed may be dirty, damaged, or incorrectly aligned.
– Faulty ABS control module: The ABS control module manages the system’s operation and may experience electrical or mechanical issues.
To troubleshoot the ABS warning light:
– Inspect the ABS sensors for dirt, debris, or damage. Clean or replace them as necessary.
– Check the electrical connections to the ABS control module and ensure they are secure.
– Consult a professional mechanic or utilize diagnostic tools to identify specific ABS system faults.
- Professional Diagnosis and Repair Options
Given the complexity of the ABS system, it is recommended to seek professional assistance for in-depth diagnosis and repair. Specialized equipment is often required to pinpoint the exact cause of the ABS warning light and ensure accurate repairs.
- Brake Fluid Warning Light
- Significance of Brake Fluid Warning Light
The brake fluid warning light indicates low brake fluid levels or a potential issue with the brake hydraulic system. Brake fluid is crucial for transmitting hydraulic pressure, and any problems should be addressed immediately.
- Identifying Brake Fluid Issues
Common causes of the brake fluid warning light include:
– Low brake fluid levels: This can result from normal wear and tear or a leak in the brake system.
– Contaminated brake fluid: Over time, brake fluid can absorb moisture and become contaminated, affecting its performance.
To identify brake fluid issues:
– Check the brake fluid reservoir level. If it is below the recommended level, inspect the system for leaks.
– Observe the color and clarity of the brake fluid. If it appears dark or contaminated, it may need to be flushed and replaced.
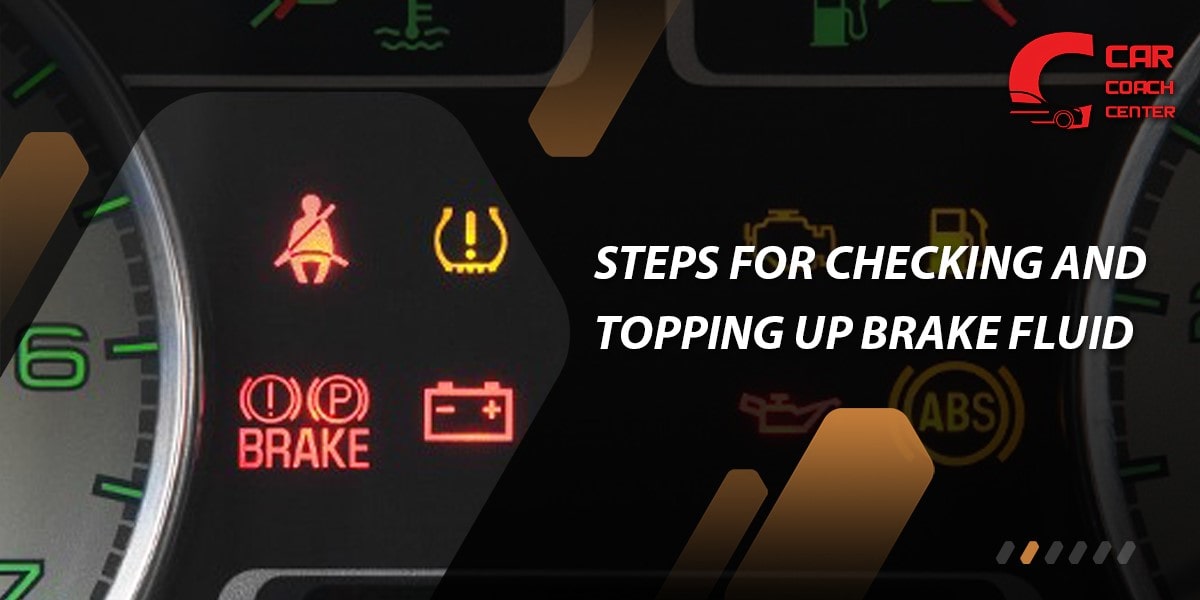
- Steps for Checking and Topping up Brake Fluid
To check and top up brake fluid:
– Locate the brake fluid reservoir, typically located near the firewall on the driver’s side.
– Clean the reservoir cap to prevent contamination.
– Remove the cap and inspect the fluid level. If necessary, add the recommended brake fluid to bring it to the proper level.
Remember, if the brake fluid warning light persists or if you suspect a leak or other significant issues, consult a professional mechanic for a thorough inspection and repair.
- Brake Rotor Warning Light
- Understanding Brake Rotor Issues
The brake rotor warning light alerts you to potential problems with the brake rotors, which can affect braking performance and safety. Brake rotors can wear unevenly or become damaged due to various factors.
- Causes and Diagnosis of Brake Rotor Warning Light
The brake rotor warning light may be triggered by:
– Warped brake rotors: Heat and pressure can cause brake rotors to warp, leading to vibration and decreased stopping power.
– Uneven rotor wear: Prolonged use or aggressive braking can result in uneven rotor wear, affecting overall performance.
To diagnose brake rotor issues:
– Pay attention to any vibrations or pulsations when applying the brakes, as these can indicate warped rotors.
– Inspect the brake rotors visually for signs of damage, such as deep grooves or scoring.
- Repair and Replacement Options
If brake rotor issues are identified:
– Resurfacing: In some cases, brake rotors canbe resurfaced to remove minor damage and restore a smooth, even surface. Consult a professional mechanic to determine if resurfacing is a viable option.
– Replacement: Severely worn or damaged brake rotors should be replaced to ensure safe and effective braking. Always replace brake rotors in pairs for balanced performance.
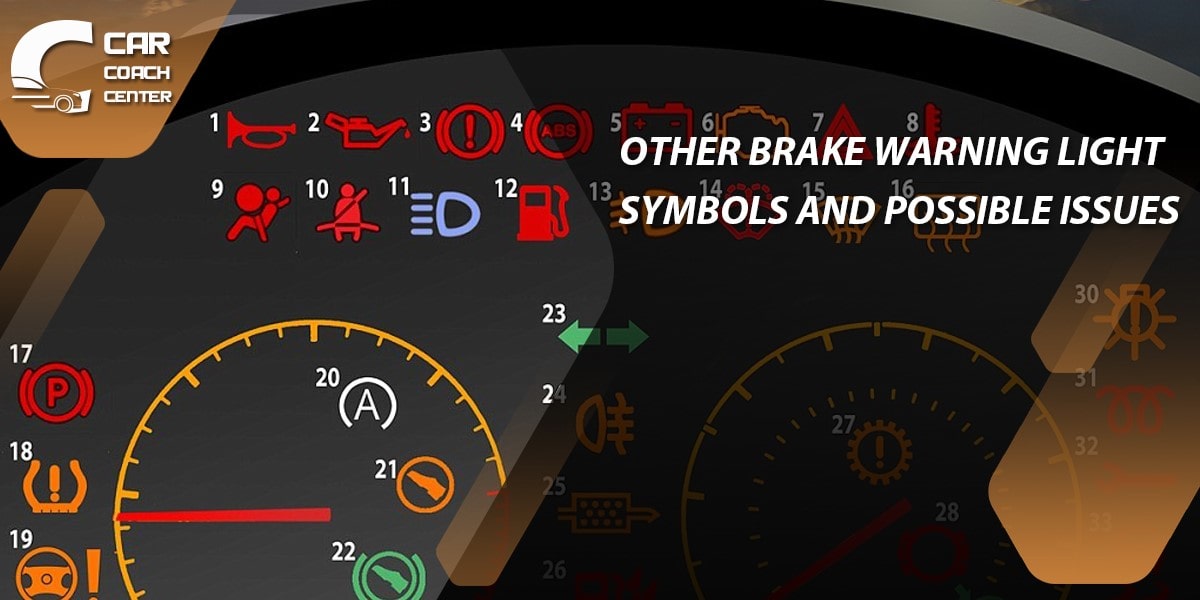
Other Brake Warning Light Symbols and Possible Issues
- Brake System Malfunction Warning Light
- Causes and Diagnostic Procedures
The brake system malfunction warning light indicates a significant issue with the overall brake system. Causes may include:
– Brake fluid leakage: Leaks in the brake lines or components can compromise the integrity of the system and trigger the warning light.
– Master cylinder failure: Malfunctioning master cylinders may result in a loss of hydraulic pressure and brake system failure.
– ABS system failure: A malfunctioning ABS system can trigger the brake system malfunction warning light.
To diagnose the brake system malfunction warning light:
– Inspect the brake system for any visible leaks or damaged components.
– Check the brake fluid level and condition.
– Utilize diagnostic tools to identify specific faults within the brake system, including the ABS system.
- Professional Repair and Maintenance
Given the potential complexity of the brake system and the importance of safety, it is recommended to seek professional assistance for diagnosis and repair. Certified mechanics have the expertise and specialized tools to accurately diagnose brake system malfunctions and perform the necessary repairs.
- Brake Pad Wear Sensor Warning Light
- Importance of Brake Pad Wear Sensor
The brake pad wear sensor is a crucial component that monitors the thickness of the brake pads. When the brake pads wear down to a certain level, the sensor triggers the warning light to indicate the need for replacement.
- Checking and Replacing Brake Pad Wear Sensor
To check and replace the brake pad wear sensor:
– Locate the brake pad wear sensor, typically attached to the brake caliper or brake pad.
– Visually inspect the sensor for any signs of damage or wear.
– If the brake pads are due for replacement and the sensor is worn or damaged, replace it along with the brake pads.
- Low Tire Pressure Warning Light
- Relationship between Tire Pressure and Brake Performance
While not directly related to the brake system, tire pressure plays a significant role in overall vehicle safety and braking performance. Insufficient tire pressure can affect the handling and stopping distance of your Mini Cooper.
- Addressing Low Tire Pressure Issues
To address the low tire pressure warning light:
– Check the tire pressure using a reliable tire pressure gauge.
– Inflate the tires to the recommended pressure specified in the owner’s manual or on the driver’s side door jamb.
– Inspect the tires for any visible damage or punctures that may be causing air leakage.
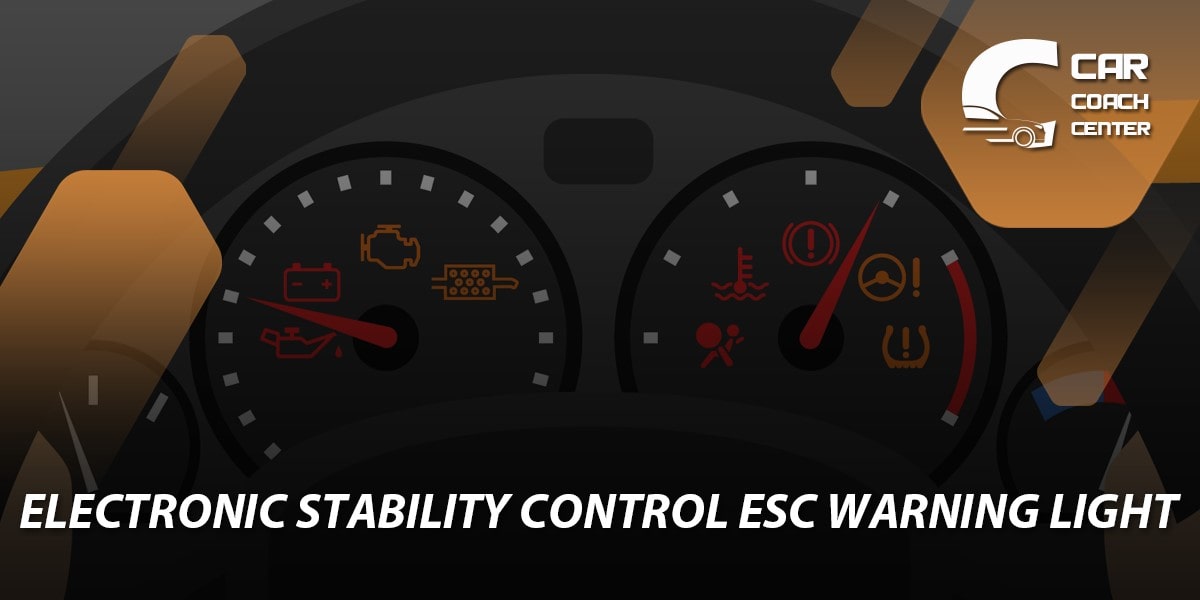
- Electronic Stability Control (ESC) Warning Light
- Understanding Electronic Stability Control
The ESC warning light indicates a problem with the Electronic Stability Control system, which helps maintain vehicle stability and control during maneuvers or slippery conditions.
- Troubleshooting ESC Warning Light
When the ESC warning light illuminates, possible causes include:
– Sensor issues: Faulty wheel speed sensors or other sensors related to the ESC system can trigger the warning light.
– Mechanical problems: Problems with the steering or suspension components can affect the ESC system’s operation.
To troubleshoot the ESC warning light:
– Inspect the wheel speed sensors for any damage or misalignment.
– Check for any loose or damaged steering or suspension components.
– Utilize diagnostic tools to read fault codes and identify specific ESC system issues.
- Seeking Professional Assistance
Given the complexity of the ESC system and its importance in maintaining vehicle stability, it is advisable to consult a professional mechanic for in-depth diagnosis and repairs. They have the necessary expertise and equipment to accurately identify and address ESC system problems.
- Parking Brake Warning Light
- Understanding the Parking Brake System
The parking brake warning light alerts you to issues with the parking brake system. This system is designed to secure the vehicle when parked and should not be used as a primary braking mechanism while driving.
- Addressing Parking Brake Warning Light
When the parking brake warning light is illuminated, consider the following steps:
– Check the parking brake lever or pedal to ensure it is fully released.
– Inspect the parking brake cables for any signs of damage or binding.
– Verify that the parking brake system is functioning correctly by engaging and disengaging it several times.
If the parking brake warning light persists or if you encounter difficulties with the parking brake system, consult a professional mechanic for a thorough inspection and necessary repairs.
Conclusion: Ensuring Safe and Reliable Braking Performance
Understanding Mini Cooper brake warning light symbols is essential for maintaining the safety and performance of your vehicle. By comprehending the meanings behind these symbols and taking appropriate actions, you can address potential brake issues promptly. Remember the following key points:
- Regular brake maintenance, including inspection and replacement of brake pads, monitoring brake fluid levels, and addressing any issues promptly, is crucial for optimal performance.
- Seek professional assistance for in-depth diagnosis and repair of complex brake system problems, such as ABS or ESC system malfunctions.
- Maintain proper tire pressure to ensure safe braking and overall vehicle performance.
- Never ignore brake warning light symbols, as they indicate potential problems that require attention.
carcoachcenter.com, your trusted resource for car care, is here to provide expert guidance and solutions for all your automotive needs. By staying proactive and addressing brake issues promptly, you can enjoy a safe and enjoyable driving experience in your Mini Cooper.
What does the ABS warning light indicate?
ABS warning light indicates potential issues with the Anti-lock Braking System, which prevents wheel lock-up during sudden braking.
Why is the brake fluid warning light important?
Brake fluid warning light indicates low brake fluid levels or potential brake hydraulic system problems, which require immediate attention.
What should I do when the parking brake warning light is on?
Check if the parking brake lever is fully released and inspect the parking brake system for any damage or issues.

